
Post-Op Follow-Up Schedule That Prevents Prosthetic Delays (For Clinicians)
For many clinicians, the surgery is only the first step. What happens after the operation


When someone loses hand function—whether from a brachial plexus injury or a partial hand amputation—the question that immediately follows is, “What now?” For many patients, that moment feels like the end of independence. They imagine a life of limitation—simple things like buttoning a shirt, holding a spoon, or greeting someone suddenly seem out of reach.
But with the right guidance from their physician, it doesn’t have to be this way. Early intervention and the correct orthoprosthetic pathway can completely change what’s possible. The earlier the right steps are taken, the better the outcomes—for both muscle health and long-term function.
For doctors, especially those practicing in tier-2 cities and rural India, understanding this pathway is crucial. Brachial plexus injuries and partial hand amputations are common after road accidents, electric shocks, or industrial trauma. Many of these patients reach the clinic long before they meet a specialist. That makes you—the local physician—their first chance at recovery.
This article walks through a complete, step-by-step guide for physicians to identify, time, and initiate orthoprosthetic interventions early for patients with brachial plexus injuries and partial hand loss. We’ll explore how to evaluate muscle readiness, protect joint mobility, counsel patients emotionally, and coordinate with prosthetic teams for early fitting.
Every phase matters: the first clinical decision, the first referral, the first exercise, and finally, the first fit. Getting these steps right can mean the difference between lifelong disability and a functional, confident recovery.

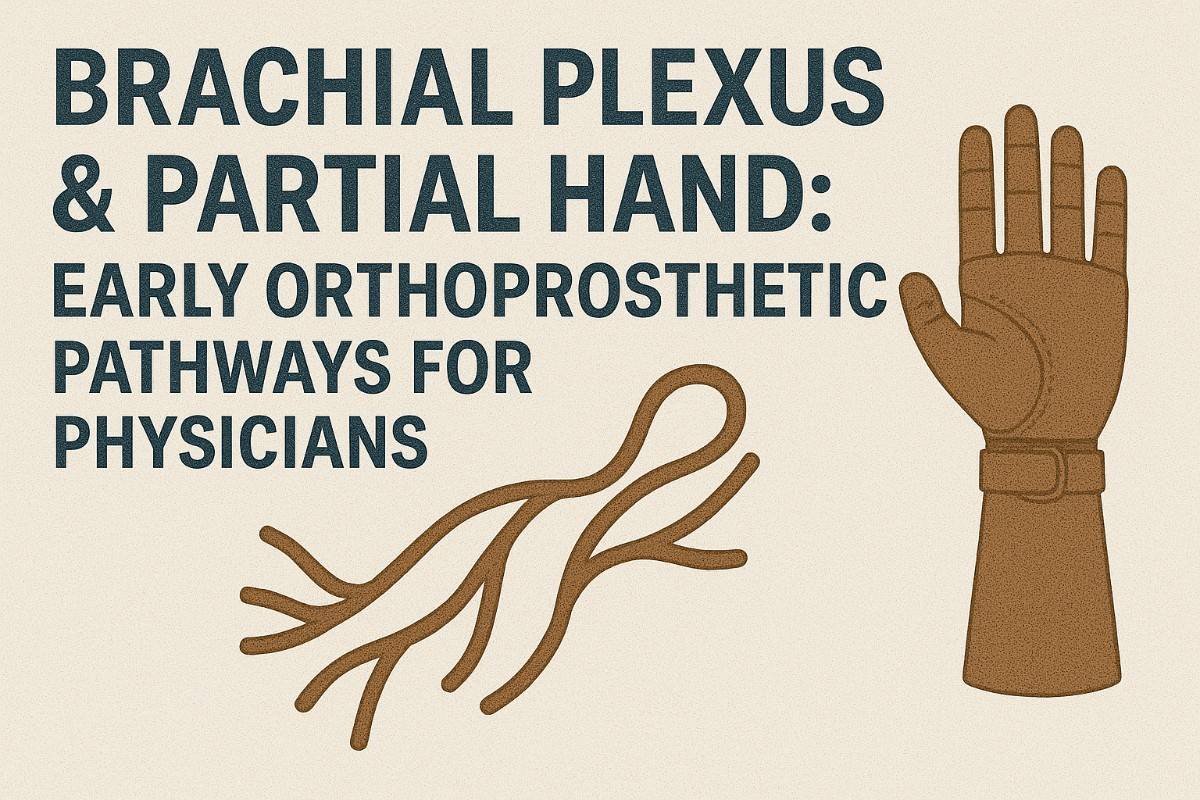
The brachial plexus is a network of nerves that controls movement and sensation in the shoulder, arm, and hand.
When these nerves are stretched, torn, or compressed—often due to trauma—the communication between the brain and the arm breaks down.
Depending on the severity, this can cause weakness, numbness, or complete paralysis of the limb.
In severe cases, muscles lose tone quickly, leading to stiffness and contractures if not managed early.
This makes timing essential.
The faster muscle activity is protected, the more likely the patient can regain function, either naturally or through assistive devices.
Physicians are often the first to evaluate these patients after an accident.
Early recognition of nerve injury, even before visible muscle loss, is critical to planning an orthoprosthetic pathway that preserves mobility.
Partial hand amputation involves losing one or more fingers or part of the palm, while still retaining some wrist or thumb movement.
Though it may seem less severe than total hand loss, it brings its own challenges—reduced grip, imbalance, and emotional distress.
Even simple actions like holding utensils or typing become difficult.
Because some function usually remains, physicians must carefully evaluate what can be preserved and what needs external support.
This determines whether the patient will benefit from a mechanical prosthesis, a body-powered device, or a myoelectric hand.
In many cases, early protection of the remaining hand structures and active muscle use can prevent long-term stiffness.
This approach helps ensure that later prosthetic fitting becomes easier and more natural.
Timing plays the biggest role in both brachial plexus and partial hand recovery.
Muscles deprived of nerve input begin to atrophy within weeks.
Joints stiffen, and the patient loses flexibility, which makes later prosthetic fitting more complicated.
If doctors initiate early movement therapy, proper splinting, and patient education within the first few weeks, recovery improves dramatically.
Early orthoprosthetic planning also reduces psychological trauma because patients see a clear path forward instead of endless waiting.
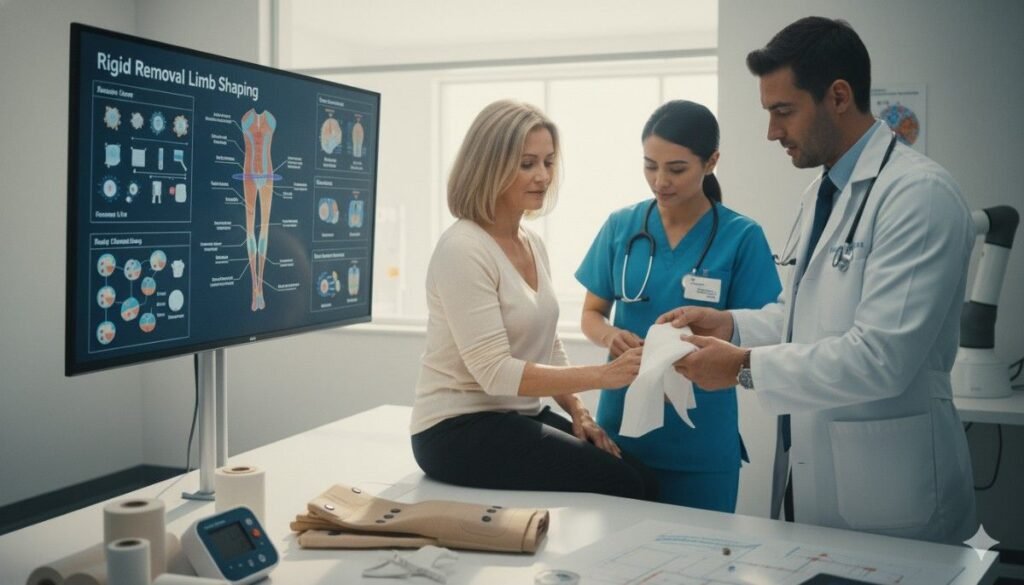
Even when surgery or nerve repair is required later, early orthotic or prosthetic support helps maintain limb shape and function during the healing phase.
Beyond the physical injury, patients experience shock, fear, and deep frustration.
Loss of arm or hand function often affects how they see themselves—it changes daily life, work, and social confidence.
At this stage, the physician’s tone matters as much as the treatment plan.
Clear reassurance and a structured roadmap of recovery can turn despair into determination.
A calm explanation that “there are ways to regain function” helps patients and families cooperate better.
In the long run, this emotional stability plays a huge role in successful rehabilitation.
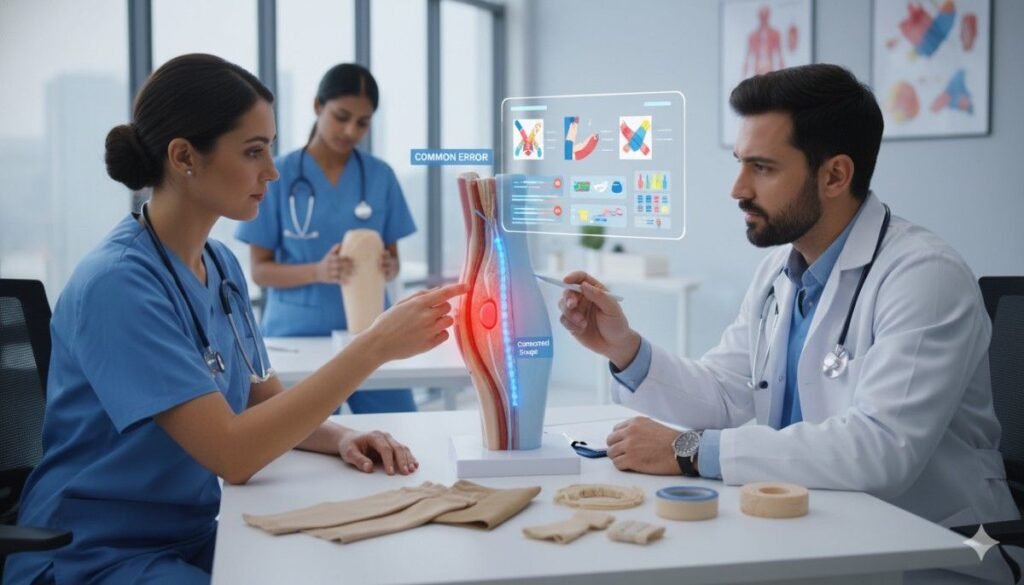
When a patient presents after trauma, the first task is to determine the type and level of injury.
For brachial plexus cases, check motor and sensory function across the shoulder, elbow, wrist, and hand.
Note which movements are weak or absent—these patterns help identify which nerve roots are involved.
For partial hand cases, assess the extent of tissue loss, wound status, and preserved movement.
Determine whether tendons or nerves remain intact, as this affects later prosthetic compatibility.
Always document these findings clearly, ideally with photos and videos.
They will guide future decisions about surgery, orthotic support, and rehabilitation timelines.
Once the patient is stable, preserving movement becomes the next priority.
In brachial plexus injuries, immobilizing the limb for too long leads to frozen joints and muscle shortening.
Encourage gentle, passive movement under supervision within days of injury.
In partial hand cases, finger splints or light compression wraps can prevent deformities while protecting healing tissues.
If wound care limits movement, teach the patient safe, small stretches between dressing changes.
Even five minutes of guided movement daily can make a major difference later when fitting orthoses or prostheses.
Pain in nerve injuries can be intense, sometimes radiating down the arm or into the chest.
Neuropathic pain control with medication should begin early to avoid chronic pain syndromes.
Explain to patients that pain is part of the nerve’s healing response—it doesn’t always mean worsening damage.
Desensitization techniques such as gentle massage or tapping around the affected area help retrain the brain’s response to sensation.
For partial hand injuries, introducing light touch and texture exposure helps the stump adapt faster for future prosthetic use.
Consistent, structured pain management keeps patients active and motivated through recovery.
Even while wound care or nerve healing is ongoing, begin discussing orthoprosthetic options early.
Patients should understand that assistive support is not a last resort—it’s part of active recovery.
For brachial plexus injuries, early orthotic bracing can position the shoulder correctly and prevent long-term deformities.
For partial hand amputees, temporary silicone covers or mechanical assist devices can maintain limb balance and prevent disuse.
Starting this discussion early helps align patient expectations with realistic goals.
It also builds cooperation between physician, physiotherapist, and prosthetist right from the start.
In the first two weeks after injury or surgery, the goal is simple: protect tissue and calm the nervous system.
Keep joints moving within safe limits so they do not freeze.
Support wounds with clean dressings and gentle elevation to reduce swelling.
Reassure the patient daily that movement will return in steps, not leaps.
For brachial plexus cases, position the shoulder to avoid internal rotation and adduction contractures.
A soft sling is fine for comfort, but do not let it become a jail for the joint.
Introduce slow, pain-free passive range at the shoulder and elbow as soon as the wound allows.
This keeps the capsule supple and preserves glide for later strength work.
In partial hand loss, protect the residual fingers with light splints that allow controlled motion.
Encourage thumb opposition if the thumb is intact.
Even tiny arcs of motion prevent tendon adhesions.
Small, frequent sessions are safer than long, tiring ones.
From weeks three to twelve, the nervous system is hungry for input.
This is the window to teach the brain new routes while the body heals.
Use short, frequent sessions of sensory re-education, mirror therapy, and task-based drills.
Pair every movement with a clear goal, like reaching a cup or pressing a light switch.
For brachial plexus injuries, watch for flickers of muscle activation.
Even a trace contraction is a door to biofeedback and electromyography-guided training.
If a joint remains still, train the pattern above and below it to keep the chain alive.
This reduces compensations and prepares the limb for powered assistance later.
For partial hand, trial simple prehension with silicone interfaces or passive functional digits.
If wrist motion is good, harness it for tenodesis-style grasp where wrist extension locks the fingers.
This teaches efficient movement while you plan advanced prosthetic options.
Function now, finesse later.
Between months three and six, connective tissues mature and the patient regains confidence.
Now is the time to layer strength on top of clean movement.
Use low resistance and high control first, then add endurance.
Protect quality of motion more than the number of repetitions.
For brachial plexus cases with partial recovery, prioritize scapular stability.
A steady base at the shoulder gives the hand a chance to be accurate.
Cue slow eccentrics for elbow flexors and extensors to build joint integrity.
Add isometrics in mid-range before full arcs if pain persists.
In partial hand, integrate functional grips into daily tasks.
Practice jar opening with adaptive aids, page turning, and phone use with a stylus or ring assist.
Gradually reduce compensations from the trunk and neck.
The goal is smooth, repeatable movement that does not irritate tissues.
Before you schedule device trials, run a simple readiness screen.
Check skin tolerance to light compression and shear.
Confirm that the patient can follow cues for donning and doffing safely.
Make sure swelling is stable over one to two weeks.
In brachial plexus injury, identify one or two reliable command muscles.
These will drive myoelectric signals or trigger powered orthoses.
If signals are weak, consider targeted training with surface EMG biofeedback.
You are building the user interface, not just fitting a device.
In partial hand loss, map the residual length, thumb status, and wrist motion.
Decide if the first step should be passive functional digits, body-powered options, or a powered partial hand.
Start simple and quick if motivation is low, then upgrade as confidence rises.
Early wins matter more than perfect tech.
Nerve repairs and tendon transfers often sit on separate calendars from prosthetic planning.
Your job is to make them talk to each other.
If reinnervation is expected, use orthoses to position joints and maintain length.
If no recovery is likely, move earlier to functional prosthetics so the patient does not lose time.
Explain that devices are not a sign of giving up on surgery.
They are scaffolds that keep function alive while biology catches up.
This reduces fear and keeps the patient engaged in rehab.
Engagement is the best painkiller and the best predictor of outcomes.
Once the device is comfortable in the clinic, shift to daily life drills fast.
Set two or three habits the patient will do every morning and evening.
Opening a container, using a key, or typing a short message are good starters.
Consistency turns new motion into identity.
Encourage short bursts of practice across the day rather than one long session.
This respects attention, preserves skin, and fits real life.
Celebrate micro-milestones like a secure pinch or a stable hold for ten seconds.
These are the bricks of long-term independence.
Place the shoulder where tissues relax and nerves glide.
Aim for gentle abduction and external rotation with the scapula settled, not winged.
A positioning orthosis or soft abduction pillow works if used part-time, not all day.
Movement between wearing sessions is essential to prevent stiffness.
Teach the patient a quiet posture reset: long neck, wide collarbones, low ribs.
This makes space for the plexus and calms protective guarding.
Breathing drills reduce pain and improve blood flow.
Small posture wins compound into big function later.
If elbow control is weak, a hinged elbow orthosis with adjustable stops protects range.
Set limits to avoid stretch injury while allowing safe arcs.
Pair the brace with guided reaching at a table to reinforce patterns.
Practice light push and pull tasks to feed proprioception.
At the wrist, a neutral or slight extension brace sets tendons in a friendly line.
This protects grip attempts from painful collapse.
Use it during tasks, not just rest, so the brain links support to success.
Remove it between sessions to maintain free motion.
You do not need fancy tools to retrain sensation.
Use everyday textures like cotton, jute, and steel spoons.
Stroke the skin in calm, predictable patterns while the patient watches.
Then repeat with eyes closed to build internal maps.
Layer vibration with a small massager for short bouts.
Follow each bout with a functional reach or a gentle grip, even if the grip is assisted.
Pairing sensation with action speeds learning.
Do this daily for a few minutes rather than weekly marathons.
Give pain relief that opens a window for practice.
Time medication so the patient can move during the most comfortable hour.
Teach pacing to avoid flare-ups from overuse.
Explain that the goal is motion with ease, not numbness at rest.
Add heat or gentle showering before stretches to soften tissues.
Finish sessions with cool packs if soreness lingers.
Keep a simple diary of pain triggers and wins.
Patterns reveal the next change to try.
If the thumb is present, guard opposition like treasure.
Support it with a light orthosis that still allows active motion.
Train tip pinch with soft putty or a folded cloth before moving to harder objects.
This seeds control without provoking pain.
For remaining fingers, prevent collapse into the palm.
Buddy taping or simple gutter splints maintain alignment during healing.
Release support for frequent brief motions to keep gliding.
The rhythm is support, move, support, move.
Start with a passive functional aid if wounds are recent.
A silicone interface can restore contact for stabilizing objects.
As swelling settles, test mechanical digits that lock around items.
Use them for real tasks like cooking and grooming to build trust.
If wrist control is good, consider body-powered systems that convert wrist motions into grasp.
They are light, durable, and intuitive in daily life.
If signals from forearm muscles are clean, trial a partial-hand myoelectric.
Begin with one or two grips, then expand as the user masters switching.
Teach lateral pinch for cards and keys.
Teach three-jaw chuck for buttons, zippers, and pens.
Teach cylindrical grasp for bottles and rails.
Tie each grip to a habit the patient repeats every day.
Coach slow closes and slower releases at first.
This avoids dropping objects and protects skin from sudden shear.
Count aloud to pace movement: close on three, hold for two, release on three.
Rhythm calms the nervous system and sharpens control.
Clean the limb and liner with mild soap and water at day’s end.
Dry fully before bed to prevent maceration.
If humidity is high, add a short midday airing break.
Rotate duplicate liners so one is always fresh.
Watch for hot spots after any device tweak.
Redness that fades within twenty minutes is acceptable; longer means trouble.
Pause use and call the prosthetist if blisters appear.
Quick fixes now prevent long lay-offs later.

Place surface electrodes over the muscle bellies that still fire.
In the forearm, target wrist flexors and extensors first.
Ask the patient to imagine opening and closing the hand while you palpate.
Look for consistent, repeatable twitches under your fingers.
Record a short video of the best contractions.
This becomes a map for the prosthetist during trials.
If signals are faint, train with brief isometrics against light resistance.
Two weeks of focused practice often sharpens the signal.
Explain that clean signals come from relaxed posture, steady breathing, and single-intent effort.
No jaw clenching, no shoulder shrugging, no face grimacing.
Practice one command per breath to reduce noise.
Rest between attempts so fatigue does not blur output.
Use a simple sequence: settle posture, inhale, command, exhale, relax.
Repeat five times, then stop.
Short, quality sets beat long, messy sets.
Consistency today makes device training tomorrow feel easy.
If the user needs rugged function fast, body-powered often wins the first round.
It is light, reliable, and teaches movement strategy.
If fine control for work or study is urgent, a myoelectric can leapfrog limitations.
Start with the highest-need grip and build from there.
Explain cost, care, and charging in simple terms.
Set honest expectations about practice time.
The right match is the one the patient will use every day.
Daily use is the real measure of success.
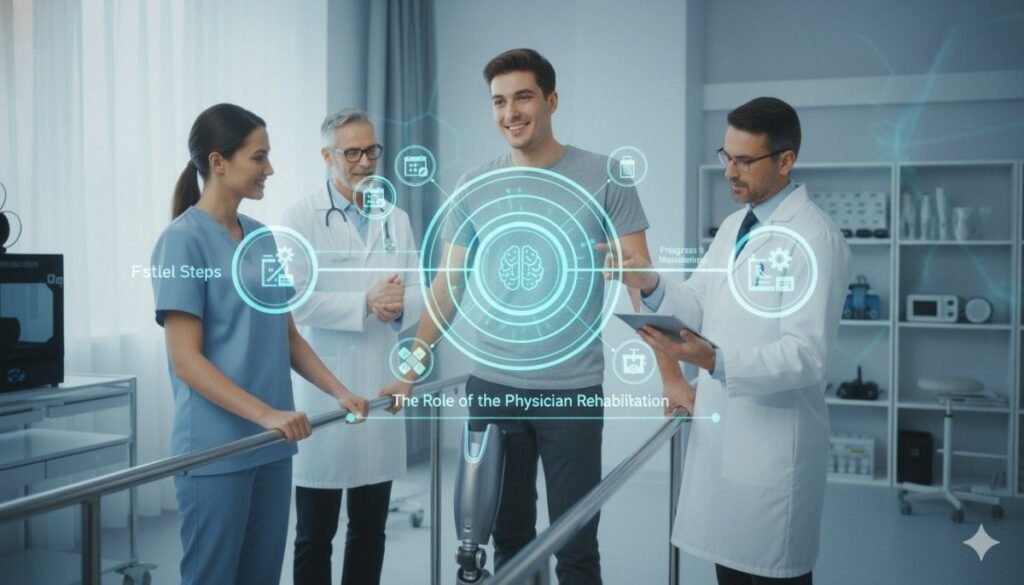
State who leads each phase from day one.
Physician oversees healing and pain, therapist shapes movement, prosthetist engineers function.
Share notes in simple language that patients can read.
When everyone understands the plan, progress feels inevitable.
Schedule brief touchpoints every two to three weeks at first.
A ten-minute call prevents a ten-week delay.
Agree on the next measurable step at each touchpoint.
Clarity fuels adherence and confidence.
Short video check-ins work well for posture, signal practice, and device hygiene.
Ask for a two-minute walking or task clip before the call.
Review it together and pick one change to try this week.
Simple, focused feedback travels far.
Keep backups for low bandwidth days: photos, voice notes, and text prompts.
What matters is continuity, not perfection.
In rural settings, a health worker can help stage calls and capture angles.
This turns telehealth into a reliable habit.
Track three user goals, not thirty clinic metrics.
Maybe it is holding a pen, carrying a tiffin, or riding safely as a passenger.
Link every drill to one of these goals.
When goals improve, motivation compels the next step naturally.
Revisit goals monthly and update device settings if needed.
A small change in grip speed or terminal device shape can unlock progress.
Stay curious and adjust early.
Early tweaks prevent late frustration.
Brachial plexus and partial hand cases demand more than clinical treatment—they require timing, empathy, and teamwork.
For physicians, the key lies in early action: protecting movement, preserving muscle health, and starting orthoprosthetic planning before complications set in.
Each week after injury brings a new window—first for healing, then for movement, and later for function.
If these moments are recognized and used well, the patient’s outcome changes completely.
Early positioning, gentle activation, and emotional reassurance give the limb and the person a fair chance at recovery.
When doctors, therapists, and prosthetists coordinate from day one, rehabilitation becomes less about repair and more about rediscovery.
The patient doesn’t just get a device—they regain independence, dignity, and hope.
At RoboBionics, we’ve seen how early orthoprosthetic intervention rewrites lives.
With devices like Grippy™—crafted and made in India—we bridge technology with care, ensuring every individual, no matter where they live, gets access to the future of prosthetic recovery.
If you’d like to explore how to begin early orthoprosthetic pathways for your patients or learn about tele-clearance and fitting models, schedule a session at robobionics.in/bookdemo.
For many clinicians, the surgery is only the first step. What happens after the operation

For trauma amputees, the journey does not begin at the prosthetic clinic. It begins much

Amputation after cancer is not just a surgical event. It is the end of one

When a child loses a limb, the challenge is never only physical. A child’s body