
Post-Op Follow-Up Schedule That Prevents Prosthetic Delays (For Clinicians)
For many clinicians, the surgery is only the first step. What happens after the operation


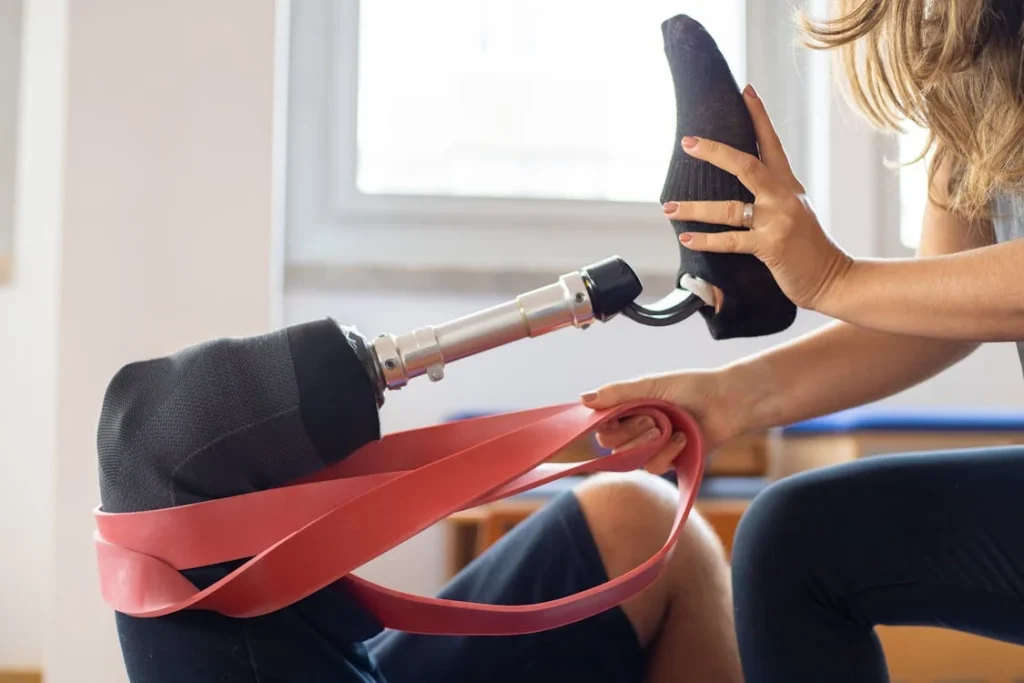
Recovering after limb loss takes time, patience, and the right kind of movement. One of the most powerful tools in pre-prosthetic therapy is something simple, affordable, and easy to use anywhere—a resistance band.
If you’ve never used one before, think of it as a long, stretchy strip that helps you gently work your muscles. It’s not heavy like a dumbbell, and it doesn’t need electricity or a special setup. But don’t let that simplicity fool you. When used the right way, a resistance band can help you build strength, improve control, and prepare your residual limb for a prosthesis.
Your residual limb, or “stump,” needs more than just healing. It needs to get stronger. It needs to become more stable. It needs to support your movements, your balance, and eventually, your prosthetic device. Resistance bands make this possible in a way that’s safe, low-impact, and adaptable to every stage of your recovery.
After an amputation, your muscles around the residual limb are often weak and stiff. They haven’t been used much during the healing period, and they’re adjusting to a new structure.
Jumping into heavy workouts or using machines too soon can do more harm than good. That’s where resistance bands come in.
Resistance bands offer just the right amount of challenge. They don’t rely on gravity or weight. Instead, they create tension through stretch. This means you control how hard you work by how far you pull the band.
If you need to go easy, you can. If you’re feeling stronger, you can increase the tension. This flexibility makes them perfect for someone recovering from surgery and slowly getting back into motion.
They also reduce the chance of injury. When your limb is still sensitive, your body needs low-impact training that builds strength without adding strain. Resistance bands allow smooth, controlled movements that protect your joints while still activating your muscles.
One of the most frustrating parts of rehab is feeling limited by location. You might not always be able to get to a clinic or gym. That’s why it’s helpful to have something you can use anywhere—even at home, on your bed, or in a chair.
Resistance bands are small, lightweight, and affordable. You can take them anywhere. And you can use them at any time that suits you. This makes it easier to stick to a daily routine.
There’s no need to rely on someone else to help you set things up. You just pick up the band and start moving.
Your therapist may show you a few simple routines, and you can repeat them during the day. This kind of consistency builds strength faster and helps you feel more involved in your own recovery.
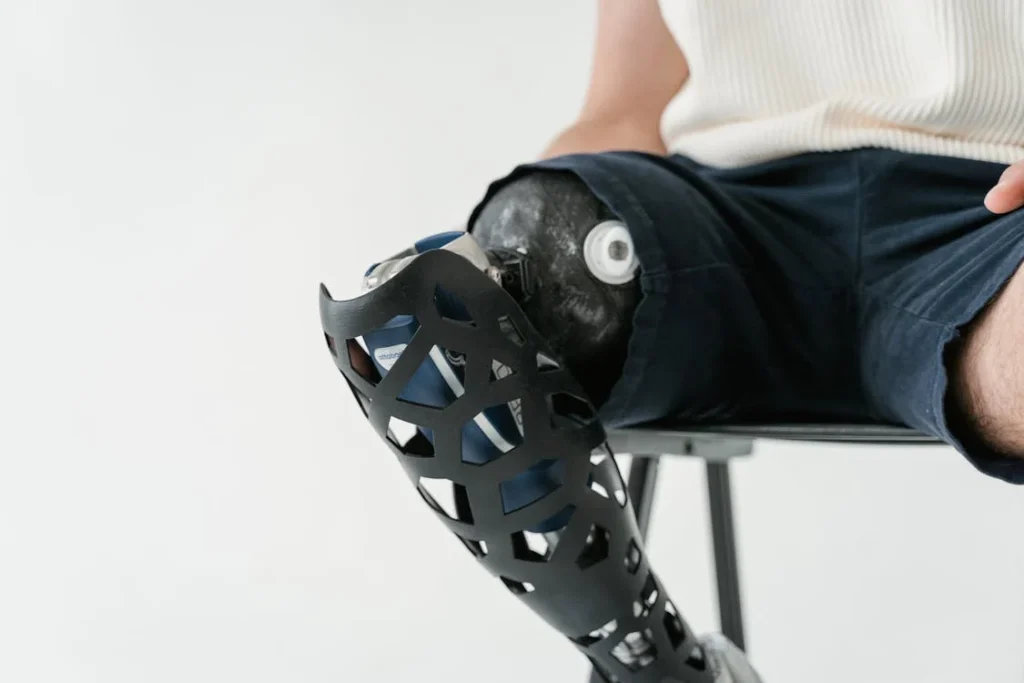
Once your limb is healed and ready for prosthetic fitting, your muscles need to be strong enough to support the device. If the muscles are weak or tight, the prosthetic socket may not sit comfortably. You might experience pressure points, soreness, or sliding.
Stronger muscles help hold the prosthesis in place and reduce strain on your skin and soft tissue. They create a smoother surface for the socket and improve alignment. This results in better control, easier walking, and less discomfort throughout the day.
Resistance band training strengthens the exact muscles that surround the residual limb. These muscles stabilize your movements and allow the prosthesis to feel more like a natural extension of your body.
In the early stages after surgery, your limb may swell. This is normal, but if it continues, it can interfere with healing and prosthetic fitment. Gentle resistance exercises with bands help improve blood flow to the limb. This keeps the tissue healthier, speeds up healing, and reduces fluid build-up.
More movement also helps the nerves around the limb reconnect and calm down. This can help reduce phantom sensations, improve touch tolerance, and support the body’s natural recovery process.
Using resistance bands encourages circulation without putting pressure on your healing tissues. That’s why therapists often recommend them during pre-prosthetic training.
Before using a resistance band, always make sure your wound is fully healed and your doctor or therapist has cleared you for exercise. Once you’re ready, begin with light resistance.
Most bands come in different colors that represent different levels of tension. Choose the softest one to begin with.
You don’t need to rush. The goal is not to feel sore or tired—it’s to start moving your muscles again. Gentle movements, done slowly and correctly, are far more effective than quick, jerky motions.
Begin with exercises that don’t involve standing. Sitting or lying down positions are safer in the early stages. Focus on controlled movement, smooth breathing, and stopping if you feel pain or strain. A little tension is good—but sharp discomfort is not.
As you grow stronger, you can move on to more advanced positions, such as exercises done while standing or balancing. But in the beginning, comfort and safety come first.
It’s a good idea to begin your resistance band training under the guidance of a physiotherapist. They can teach you how to hold the band correctly, anchor it safely, and move through each exercise without creating stress in the wrong areas.
Proper form helps you target the right muscles. It also protects other parts of your body—like your spine, hips, or shoulders—from trying to compensate for weakness in the limb.
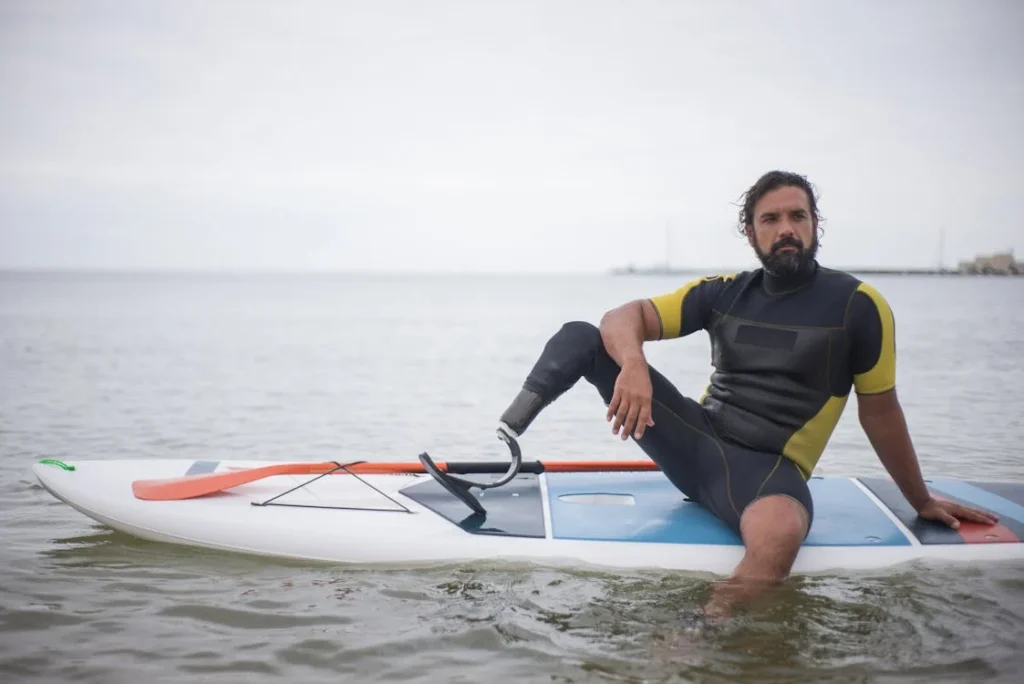
This is especially important for above-knee or below-knee amputees, where alignment is key to walking again with a prosthetic.
You might start with very simple exercises, such as extending the limb forward or lifting it slightly while seated. These small movements help reactivate muscles that haven’t been used in a while.
Over time, your range of motion increases and your body feels more stable and in control.
After limb loss, your body goes through major adjustments. Some muscles weaken from lack of use, while others may become overworked from doing too much.
When using a prosthetic, your muscles need to work together to provide balance and movement. But this can only happen if each group is strong and flexible enough to do its part.
Resistance bands are especially good at targeting smaller stabilizing muscles—these are the muscles that keep your limb steady when you’re standing, walking, or changing direction.
Strengthening these muscles helps reduce wobbling, increases your sense of control, and supports a better fit with your prosthesis.
Your therapist might show you how to do small outward or inward movements using the band, which activate the hip stabilizers or the muscles around your residual knee or upper thigh.
These are not dramatic exercises, but they are powerful. They create the steady platform your prosthesis needs to function properly.
One of the advantages of resistance bands is that they build endurance and tone rather than bulk. This is important when training a residual limb, where space inside the prosthetic socket is limited. You want your muscles to be strong and lean—not overly tight or swollen.
Because bands allow for a high number of repetitions without placing stress on the joints, they’re ideal for creating functional strength.
Functional strength means your muscles not only grow stronger, but they also learn how to work in real situations—like standing up, walking, or picking something off the floor.
Doing these exercises regularly gives your residual limb the power and flexibility to support the rest of your movements. That means less pain, fewer adjustments, and a smoother transition once you start using your prosthetic.
It’s easy to assume that using a stronger band will help you get results faster. But going too hard too early can do more harm than good. When your muscles are still adapting, high resistance can cause strain, delay healing, or even create pain around the joint.
A light resistance band is more than enough in the beginning. Your goal is to rebuild connection between your brain, nerves, and muscles—not to “max out” your strength.
Once your movements become smoother and more stable, your therapist may suggest moving up to the next level of resistance.
The best results come from controlled, pain-free motion—not from force.
Another common mistake is moving too fast. It’s easy to go through the motions just to “get it done,” but this often leads to poor form and less muscle activation. The muscles around your residual limb need time to react, respond, and build memory.
Each exercise should be done slowly, with control, and with full attention to how your body feels. If your leg shakes or you feel off balance, pause and reset.
Quality is far more important than speed. One or two minutes of focused movement does much more for your recovery than 10 minutes of rushed activity.
If you’re unsure whether you’re doing it right, take a video of your movement and review it with your therapist. Small changes in angle, grip, or posture can make a big difference in how the exercise works.

Recovery can feel overwhelming. You may already have a long list of appointments, rehab goals, and emotional ups and downs to manage.
That’s why it helps to think of resistance band training not as “one more thing,” but as a part of your day—like brushing your teeth or having breakfast.
Choose a consistent time when your body feels the most comfortable—maybe in the morning after you wake up or in the evening after a warm bath. Keep your band nearby, in a place where you’ll see it and remember to use it.
You don’t need long sessions. Even 10–15 minutes, twice a day, can create real change in your strength and stability. What matters is staying consistent. The more often you do it, the easier it becomes. Eventually, it just becomes part of how you take care of yourself.
Your resistance band work doesn’t happen in isolation. It supports everything else you’re doing in therapy—balance work, gait training, and even emotional healing.
As your muscles grow stronger and your limb becomes more stable, you’ll notice improvements in other areas. You’ll find it easier to sit up tall, transfer from a bed or chair, or stand longer without support. You’ll also notice more confidence in your movements, which reduces anxiety and fear of falling.
Therapists often design therapy plans that mix resistance band work with weight-shifting drills, core strengthening, and stretching. These routines work best when all parts are practiced together. They help train your body as a whole—not just one part at a time.
And because the band helps you move without the need for heavy equipment, it also gives you a way to stay active between appointments, at home, or while traveling.
Strengthening your residual limb isn’t only about the muscles—it’s also about your mindset. In the early days after an amputation, it’s common to feel disconnected from your body or unsure of what it can do. Resistance band training helps rebuild that connection, little by little.
Each time you use the band to move your limb, you’re not just making your muscles stronger—you’re proving to yourself that your body can still move, still respond, still grow. This feeling of control brings confidence. It reminds you that progress is possible, even if it feels slow.
And repetition builds familiarity. The more you practice these movements, the more automatic they become. That same control will later help when you start walking with your prosthesis.
Instead of worrying whether your body can handle the pressure, you’ll trust it—because you’ve already done the work.
Using resistance bands also gives you something positive to focus on. Recovery can be long and emotionally draining. You might feel stuck between healing and prosthetic fitting, unsure of what to do next. Band training fills that gap. It gives you a clear, simple task you can do each day to move forward.
Having that small goal—even if it’s just completing a few movements—keeps you mentally engaged. You stay connected to your recovery. You begin to feel more involved in your own progress, not just waiting for others to tell you when the next step is.
That sense of purpose is powerful. It lifts your mood, gives you structure, and helps turn passive waiting into active healing.
The muscles in your residual limb don’t work alone. They depend on support from your hips, your spine, and your abdomen—what’s often called your “core.” Without a stable core, your limb will have to work harder, and movements will feel off-balance or tiring.
Resistance bands can be used to activate your core alongside your limb work. Your therapist may have you pull the band while sitting upright or balancing slightly to one side. This engages your trunk muscles, builds endurance, and teaches your body to work as a system.
When your core is strong and your limb is steady, everything improves—your posture, your gait, your ability to shift weight naturally. And that leads to better control and comfort when using a prosthesis.
Balance training often begins even before you stand up. It includes small movements that teach your body how to adjust when pressure shifts. Resistance bands support this by challenging your body to stay steady while pulling or pushing against the band.
For example, while seated, you might press your residual limb against a band and hold it there. As your muscles engage, your body naturally reacts to stay centered.
These reactions train your nervous system and improve your proprioception—your ability to know where your body is in space.
This type of sensory training is vital for safe, confident walking with a prosthesis. When you know how to control your center of gravity and feel your movements, you reduce the risk of falls and feel more secure with each step.

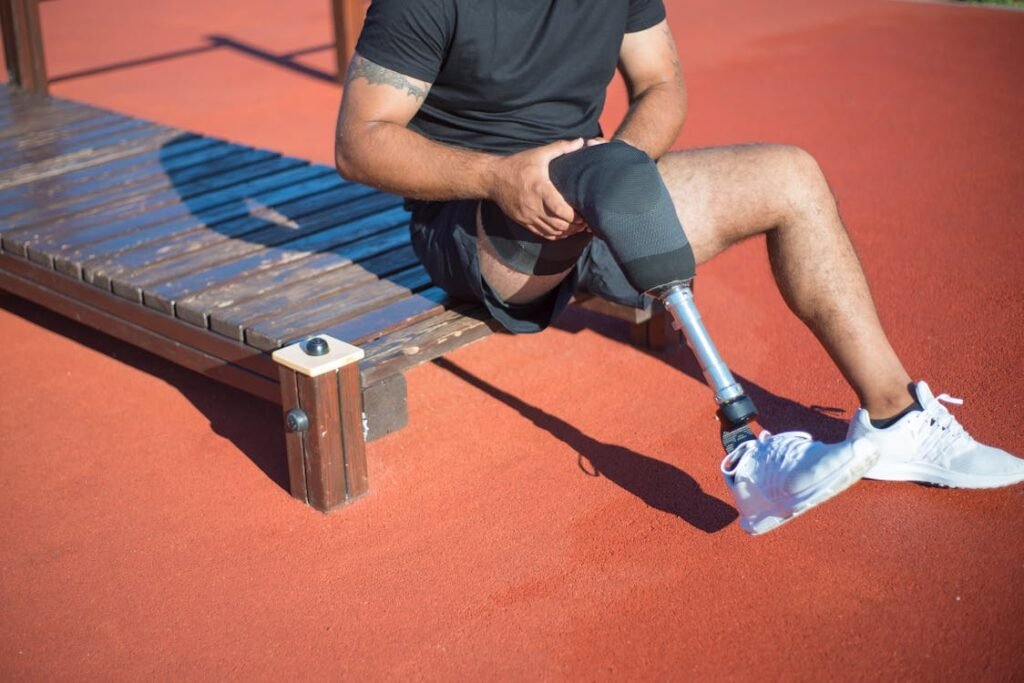
If your amputation is below the knee, resistance band training will often focus on your thigh muscles, knee control, and hip strength. These areas help you lift, swing, and stabilize the prosthetic leg.
You might start with exercises that extend the knee forward or move the limb outward. These movements teach your quadriceps and hip abductors to activate correctly. You’ll also work on hamstring strength to support backward movement.
A strong upper leg and stable knee area help with prosthetic alignment and reduce the risk of socket pressure. Resistance band work here improves comfort and efficiency when you start walking.
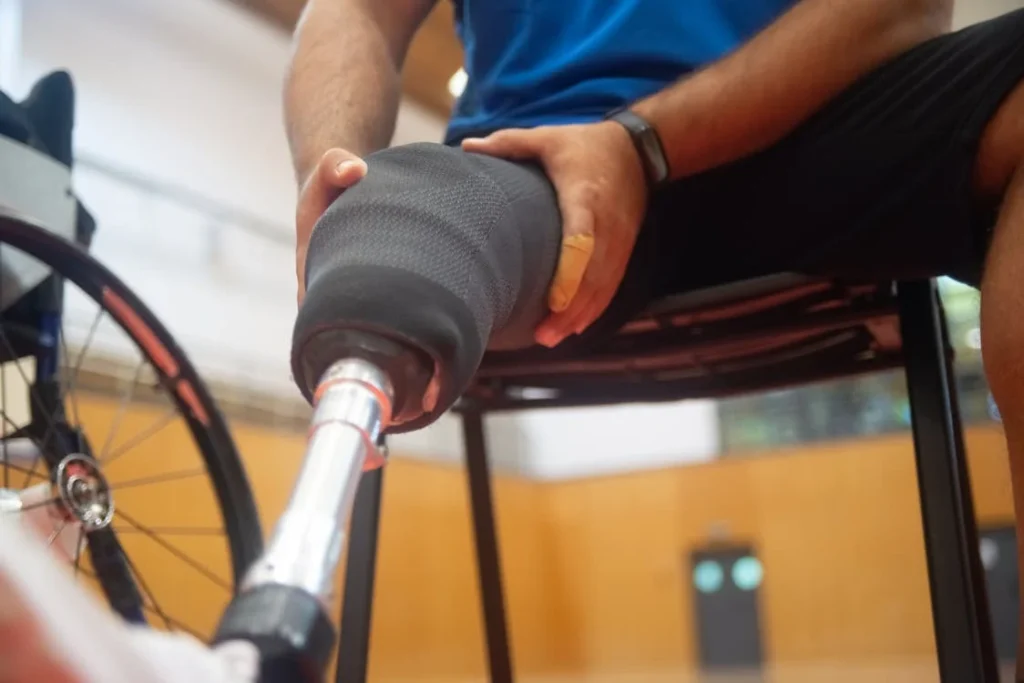
For above-knee amputees, the focus shifts to deeper core engagement and stronger hip control. Since there is no natural knee to assist with movement, your hips become the main drivers of the prosthetic leg.
Resistance band training will often include hip flexion (lifting the leg forward), extension (moving it back), and rotation (turning the leg inward or outward). These movements train your muscles to stay strong and responsive when you begin gait training.
You may also use the bands while lying down or in supported seated positions to reduce strain. Over time, these exercises help you stay centered, move evenly, and feel more balanced during walking.
Progress with resistance band training doesn’t always show up in big, obvious ways. Sometimes, the changes are small—but meaningful. You may find it easier to hold your leg up a little longer, control a movement more smoothly, or recover faster after a set.
These are signs that your muscles are learning. They’re adapting. They’re rebuilding strength and coordination. Tracking these changes—whether with a journal, a calendar, or a few notes—can keep you motivated, especially on tough days.
You might write things like, “Held lift for 10 seconds today,” or “Less shaky during pull movement.” These small wins are worth celebrating. They remind you that every bit of effort adds up.
Some days will feel harder than others. You may feel tired, sore, or emotionally drained. That’s normal. Recovery isn’t a straight line. But the beauty of resistance band training is that it can be adjusted—lightened, shortened, or paused—without losing momentum.
If you miss a day, that’s okay. What matters is coming back when you’re ready. Your body remembers the work you’ve done. And each time you return to the routine, you’re reinforcing that connection between your muscles, your movement, and your mind.
Phantom limb sensations are common after amputation. These may include tingling, itching, or even cramping in the part of the limb that’s no longer there. While these sensations are often a natural part of nerve adjustment, they can be frustrating and emotionally tiring.
Interestingly, regular movement—especially with resistance—can help reduce these feelings. When you engage the muscles around your residual limb using a resistance band, you send clear, real-time signals to the brain.
These signals help overwrite the “phantom” feedback your nervous system is still clinging to.
The more often your brain receives real, coordinated movement patterns, the less it relies on phantom signals. Over time, this can lead to a reduction in phantom discomfort and help you feel more in control of your body again.
Using resistance bands also forces you to focus. You’re paying attention to how your body feels, how your muscles activate, and how your balance shifts. This mindfulness helps quiet overactive nerve responses. It brings your focus to what your body is doing—not what it’s missing.
This mental redirection can offer relief—not just from physical discomfort, but from emotional stress linked to phantom pain. It’s a way to take back control, one movement at a time.

If you’ve experienced bilateral limb loss—whether both below or above the knee—the approach to resistance band training becomes more strategic. Your body now depends heavily on your core, upper body, and residual limbs for movement, support, and balance.
In this case, bands become your training partners. You can use them to strengthen your torso, stabilize your hips, and even improve arm strength for transfers and mobility aids.
For bilateral amputees, symmetry is key. Resistance bands allow you to work both sides of the body evenly, keeping muscle tone balanced and reducing strain on any one side.
This training is not just about strength—it’s about coordination. Your body must now move in new ways, using different muscles for the same tasks. Bands help you discover and strengthen those movement patterns, without needing a full gym or special machines.
Each bilateral amputee’s needs are different. Your therapist might adjust exercises to focus more on core rotation, seated postural control, or upper body pulling strength. Resistance bands are highly adaptable for this.
They can be attached to a wheelchair, a doorknob, or held by a therapist during movement training. Whether you’re lying down, sitting up, or preparing for advanced mobility work, resistance bands can meet you where you are and grow with you as you improve.
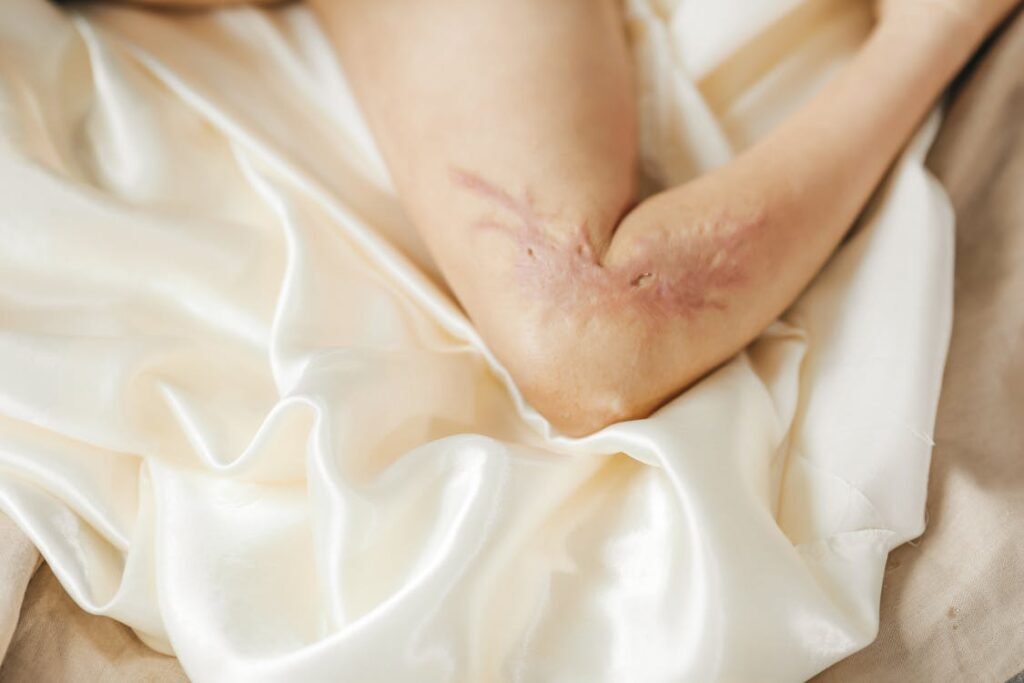
Scar tissue can become tight, stiff, or even painful after amputation. Over time, this can limit how easily your residual limb moves, stretches, or fits into a socket. While massage and direct care are important, active movement using resistance bands also plays a role.
When you move your residual limb against light resistance, you stretch not just the muscles, but also the skin and fascia around the scar. This type of controlled movement encourages blood flow and breaks down tight fibers under the surface, helping your skin and tissue remain soft and mobile.
Keeping the soft tissue around the scar flexible is essential for long-term prosthetic comfort. It prevents pinching, rubbing, and pressure points that could interfere with your gait or daily use.
After using resistance bands, your muscles are warm. This is the perfect time to stretch. Gentle stretching helps elongate the tissues around the limb and reduces soreness.
Over time, it improves your range of motion and reduces the risk of stiffness or contractures, especially if your limb is positioned a certain way for long periods.
Your therapist can guide you in pairing each band exercise with a related stretch—something simple, like reaching forward or gently rotating your hips while seated. These stretches complement the strength training and round out your rehab routine.
One of the toughest emotional challenges after limb loss is the feeling of being stuck—waiting for healing, waiting for fittings, waiting for change. Resistance bands break that cycle. They give you a way to take action now.
Even on days when everything feels uncertain, completing a small set of band exercises can shift your mindset. You feel useful. You feel like you’re doing something to move forward. That sense of progress—even if it’s slow—can be incredibly powerful.
You’re no longer a passive patient. You’re an active participant in your recovery.
So much of the recovery journey is outside your control—surgery outcomes, how fast you heal, when your prosthesis is ready. Resistance band training is something you can own.
You can control the timing, the pace, and the intensity. You can choose how you feel in your body, and what goals you set.
This autonomy builds emotional strength. It supports better mood, less anxiety, and a stronger connection to the body that you’re still learning to trust again.
Throughout your recovery after limb loss, you’ll hear a lot about patience, consistency, and strength—not just physical, but emotional too. Resistance bands bring all three together in a way that’s simple, practical, and powerful.
They don’t promise overnight change. They won’t replace your therapy team or your prosthesis. But what they do offer is something just as important: ownership of your healing.
With resistance bands, you’re not just waiting for your next stage of recovery—you’re actively shaping it. You’re using your own movement to rebuild muscle, reconnect with your limb, reduce phantom pain, and prepare for your prosthesis.
Whether you’re recovering from a below-knee amputation, adjusting to life after a bilateral loss, or managing soft tissue tightness, bands give you a safe, adaptable, and highly effective way to move forward—one rep at a time.
They help you move better, feel better, and think better. They restore your sense of control. And they give you small victories that add up, day after day.
In the end, using resistance bands is about more than just exercises—it’s about empowerment. It’s about proving to yourself that you’re not defined by what you’ve lost, but by what you’re still capable of doing. It’s about moving again, trusting again, and slowly reclaiming the freedom to live life on your terms.
You don’t need expensive equipment. You don’t need to be an expert. You just need your own effort, a little bit of space, and the will to try. So if you’re holding a resistance band in your hand today, you’re already moving in the right direction.
Start where you are. Go slow. Stay consistent. And remember—you’re not just strengthening your limb. You’re rebuilding your life.
For many clinicians, the surgery is only the first step. What happens after the operation

For trauma amputees, the journey does not begin at the prosthetic clinic. It begins much

Amputation after cancer is not just a surgical event. It is the end of one

When a child loses a limb, the challenge is never only physical. A child’s body